Have you ever found yourself frowning at a fresh scratch or dent on your bumper? Do you wonder if it’s really worth fixing? A minor scuff from a parking mishap or a deeper dent from a rogue shopping trolley can cause damage. Bumper damage is one of the most common issues car owners face. It is also one of the most annoying.
This guide walks you through the entire bumper repair process. It helps you identify what can be tackled at home. It also lets you know when it’s time to call in auto body repairs Mornington professionals. Whether you’re a hands-on DIYer or someone seeking expert help, understanding the repair process can save time, money, and frustration.
Understanding Bumper Damage
Before diving into repairs, assess what you’re working with. Bumpers typically suffer from:
Scratches – light or deep, depending on whether they’ve penetrated the clear coat or paint.
Dents – caused by impact but without paint loss.
Cracks – more serious, often needing reinforcement or replacement.
Chips – small paint or material losses from stones or minor impacts.
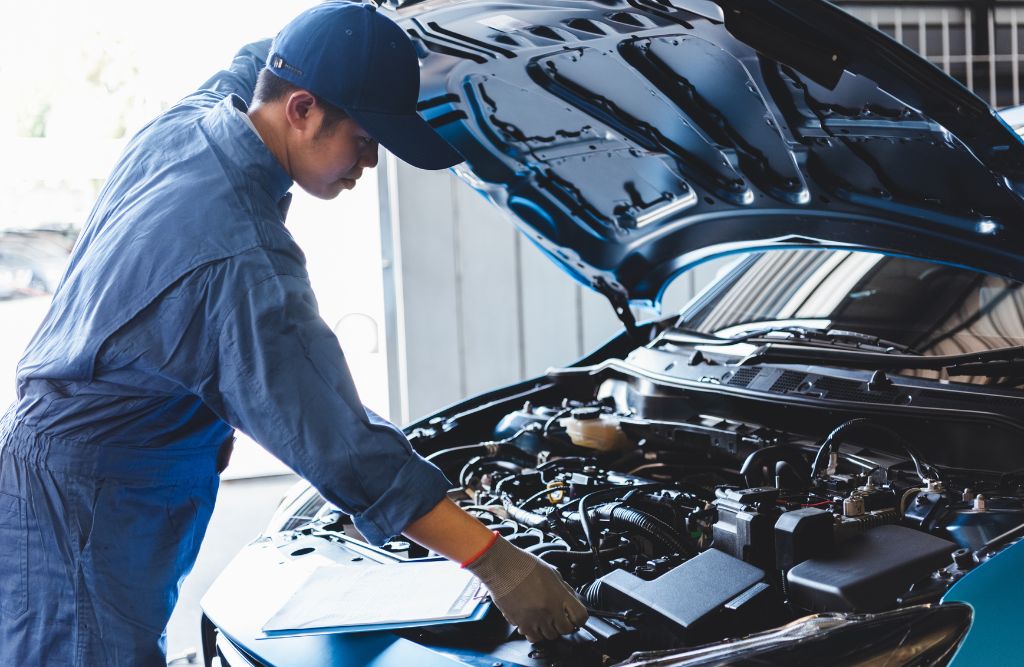
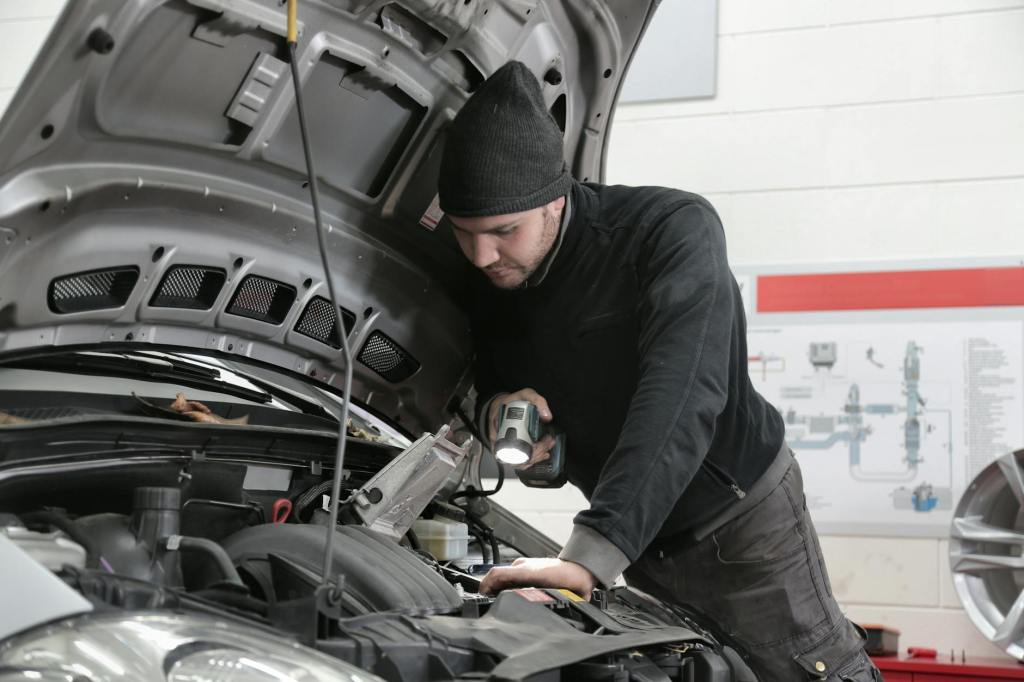
Small scratches and dents can usually be handled with DIY tools and patience. Anything affecting the structural integrity should be left to professionals. Experts should also handle issues with multiple bumper layers. These include those offering auto body repairs Mornington residents rely on for quality results.
Tools and Materials You’ll Need
DIY bumper repair is very possible with the right setup. Essential tools include:
- Sandpaper (320 to 1000 grit)
- Plastic filler or putty
- Automotive primer and matching paint
- Clear coat and polishing compound
- Microfibre cloths and masking materials
You can find these supplies at stores like Supercheap Auto or Repco. If unsure about paint matching, many suppliers offer services based on your vehicle’s make and model.
Prepping the Surface: Crucial for Success
How to Prep a Plastic Bumper for Paint
Clean thoroughly using soap, water, and a degreaser.
Sand the damaged area, starting with a coarse grit and finishing with a fine one.
Mask off surrounding areas using tape and plastic sheeting to avoid overspray.
Dry completely before proceeding to priming or painting.
Preparation is key—skip this step, and your paint job may flake or peel within weeks.
Repairing Scratches Like a Pro
Can You Fix Deep Scratches Yourself?
Yes, but it depends on the depth.
Light surface scratches can be buffed out with polishing compound.
Paint-penetrating scratches require cleaning, primer application, multiple paint coats, and a clear coat finish.
Gouges may need plastic filler before painting. Apply thin layers and sand smooth.
If you’re unsure about tackling deep gouges, reach out to mobile technicians offering auto body repairs Mornington wide. They bring experience and specialised tools for seamless results.
Dents and Dings: Heat and Filler Techniques
What’s the Best Way to Remove Dents?
Small plastic bumper dents can be removed using a heat gun or hair dryer. Gently heat the area until the plastic softens, then push the dent out from behind.
Larger dents with creases require filler application. Clean, sand, fill, then shape and sand again for a flush finish.
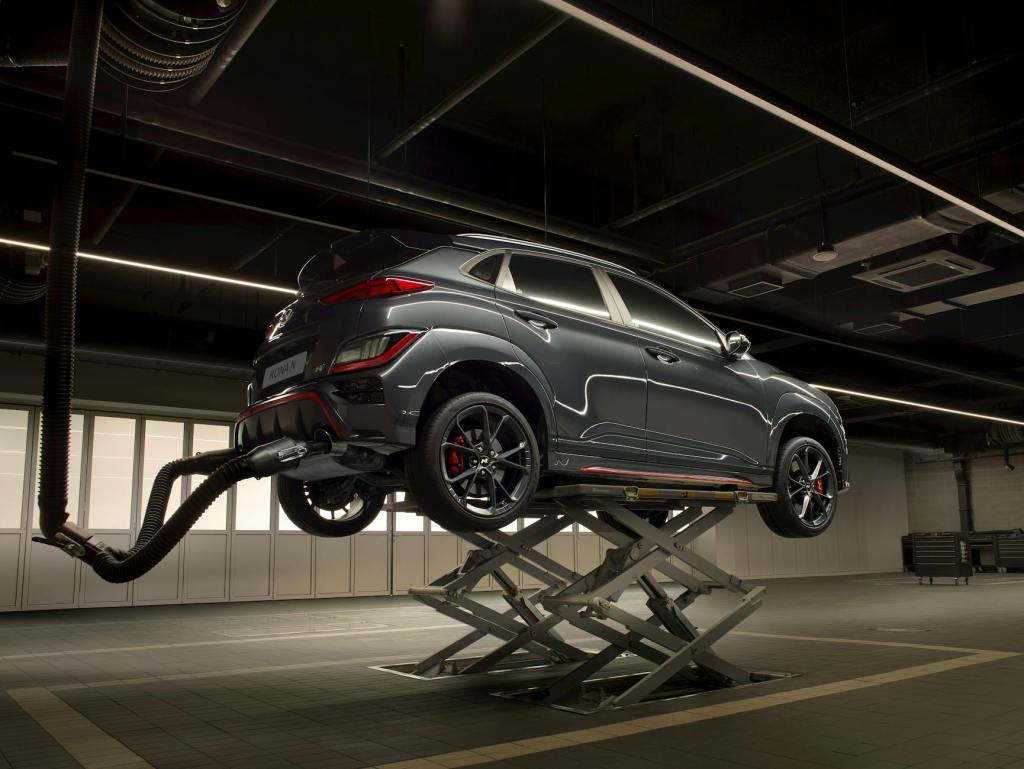
If the dent is too large, it might be best to seek professional help. If the dent is located in a tough spot, contact local auto body repairs Mornington services. Those services are equipped for complex work.
Painting Your Bumper
How Many Coats Should You Apply?
Primer: 2-3 coats
Base colour: 3-4 light coats
Clear coat: 2-3 thin layers
Apply in even, overlapping passes and allow each coat to dry before moving on. Colour matching is crucial – always blend slightly into adjacent areas to avoid stark contrasts.
Common mistakes include painting in extreme temperatures or humidity, applying coats too thickly, or skipping the cleaning between steps.
DIY vs Professional Help: What’s Right for You?
DIY repairs can cost around $50–150 in materials and require up to 10 hours of work. While cost-effective, this method demands patience, precision, and time.
Professionals, especially those offering mobile auto body repairs Mornington, charge more, typically $200–500. They deliver expert colour matching and seamless blending. They often warranty their work. Plus, you avoid the mess and guesswork.
Aftercare for Lasting Results
How Long Before You Wash a Painted Bumper?
Wait at least 30 days before washing with soap.
Rinse gently with water after one week, if necessary.
Avoid automatic car washes for the first month.
Once cured, apply a wax or paint sealant to protect your work.
Routine checks help spot any fading or lifting early. A quick touch-up can often fix small issues before they worsen.
Common Mistakes and How to Avoid Them
Skipping surface prep: Always clean and sand thoroughly.
Painting in poor conditions: Work in mild, dry weather or a controlled environment.
Rushing the job: Allow proper drying time between coats.
Using incompatible products: Stick to one brand’s system when possible for better consistency.
Choosing the Right Repair Specialist in Mornington
If your damage is extensive or you’re unsure, choose professionals with:
- Strong local reputation
- Experience with your vehicle type
- Industry certification and insurance approvals
- Transparent quotes and warranty guarantees
Ask about their paint matching process and view before-and-after examples. Many mobile auto body repairs Mornington providers also offer quick turnaround and convenience by coming directly to your location.
Final Thoughts
When it comes to bumper damage, acting quickly can prevent rust, further cracking, or worsening of the first problem. Whether you choose the DIY route or hire experts for auto body repairs Mornington, the correct approach varies. It depends on the damage severity. Your budget and comfort with tools also play crucial roles.
A flawless bumper not only boosts your car’s appearance but also helps preserve its value. So whether you’re sanding, filling, or spraying, do it right—or bring in the pros. Either way, your car deserves to look its best.


Leave a comment